A red light on your motherboard can feel like a major problem — but in most cases, it’s a helpful warning, not a death sentence for your PC.
Modern motherboards include diagnostic LEDs that tell you exactly where the problem is happening, helping you fix it faster and easier.
In this detailed guide, you’ll learn:
- What the red light means on different motherboards
- Common causes of a red motherboard light
- Complete step-by-step troubleshooting guide
- Expert tips to prevent future motherboard issues
- Answers to frequently asked questions (FAQs)
Whether you’re building a new PC or maintaining an existing one, understanding these warning signals can save you from a lot of frustration.
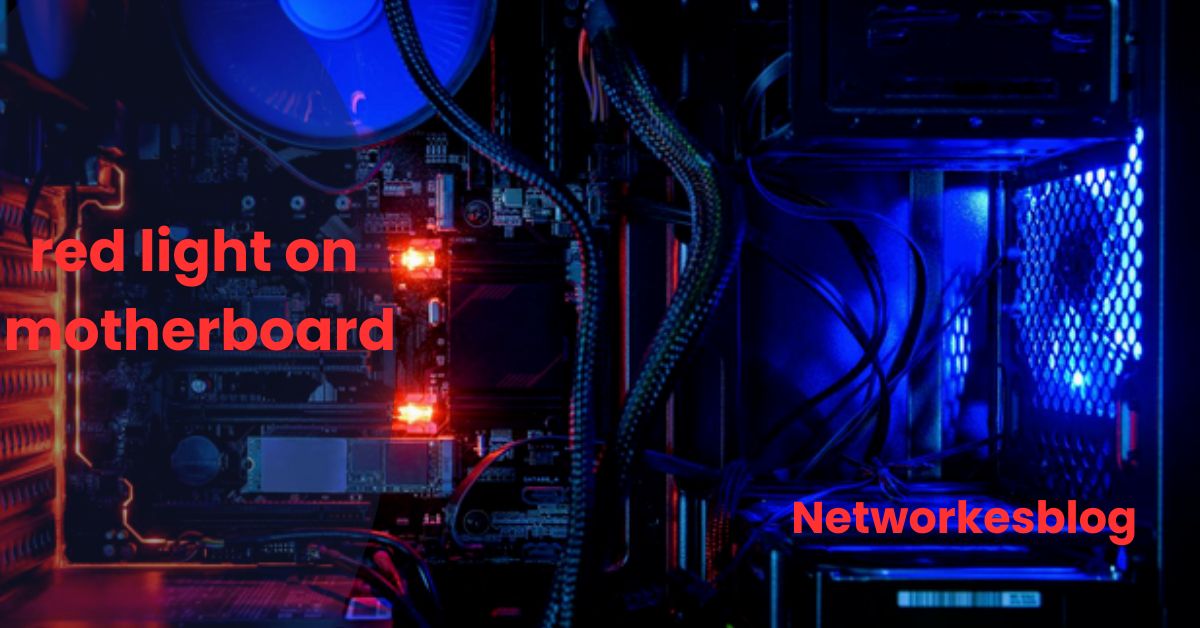
When a red light appears on your motherboard, it usually means that the system has detected a hardware issue during the Power-On Self-Test (POST) process.
Motherboards from major brands like ASUS, MSI, Gigabyte, and ASRock come with onboard LEDs for different hardware components.
Each light tells you which part of your PC is having trouble:
- CPU Red Light: Processor not detected or faulty
- DRAM Red Light: Memory (RAM) issue
- VGA Red Light: Graphics card (GPU) problem
- BOOT Red Light: Storage device or boot error
Depending on where the red light is located, you can quickly focus your troubleshooting efforts on that particular component.

Let’s break down the most common reasons why your motherboard shows a red light:
If RAM, CPU, GPU, or SSDs are not seated correctly, your motherboard will detect an error and trigger the red light.
Faulty RAM sticks, a damaged CPU, a dead GPU, or a failed storage drive can all cause red lights during startup.
If the PSU isn’t delivering stable voltage to components, your motherboard might light up to indicate an error, especially with power-hungry GPUs or CPUs.
Using outdated BIOS firmware can result in hardware incompatibilities that cause startup errors and warning lights.
Installing unsupported RAM speeds, CPUs, or GPUs that aren’t on your motherboard’s Qualified Vendor List (QVL) can trigger errors.
Burnt-out capacitors, cracked PCB layers, or damaged DIMM/PCIe slots can cause component detection failures.
Here’s a quick table to help you identify the red light warning:
| Red Light | Component | Problem Description |
|---|---|---|
| CPU Red Light | Processor | CPU not detected, bad installation, damaged socket |
| DRAM Red Light | Memory (RAM) | RAM missing, incorrectly installed, incompatible, or faulty |
| VGA Red Light | Graphics Card | GPU not detected, seated improperly, defective |
| BOOT Red Light | Storage Drive | Boot drive not found, OS missing, or drive failure |
Knowing where the problem is can help you fix it much faster.
If you see a red light, follow these step-by-step solutions:
- Turn off the PC.
- Unplug it from the wall.
- Hold the power button for 30-60 seconds to discharge residual electricity.
- Plug it back in and try starting the PC again.
Why? Sometimes temporary glitches cause false warnings.
Check your motherboard carefully to see if it’s the CPU, DRAM, VGA, or BOOT light that’s on.
This helps you focus your troubleshooting.
- Remove and carefully reinstall the CPU, RAM, GPU, and storage devices.
- Make sure RAM sticks click into place firmly in their slots.
- Check if your GPU is properly locked into the PCIe slot.
Pro Tip: Always use anti-static wrist straps when handling components.
Resetting the BIOS settings can fix issues caused by incorrect hardware configurations.
- Locate the CMOS battery and remove it for 5–10 minutes.
- Alternatively, use the Clear CMOS jumper as per the manual.
- Reboot your system and check if the red light is gone.
- Boot the PC with only one stick of RAM.
- If your system posts (boots successfully), test the other stick(s) one by one.
- Similarly, try booting without the GPU if your CPU has integrated graphics.
Goal: Isolate whether a specific module is causing the red light.
- Go to your motherboard manufacturer’s website.
- Download the latest BIOS update for your model.
- Follow the official BIOS flash guide carefully.
Note: Interrupting a BIOS update can permanently damage your motherboard, so proceed with caution.
- Verify all power cables (24-pin ATX, 8-pin CPU, PCIe cables for GPU) are connected securely.
- Swap to another known-good PSU if possible to rule out power supply issues.
If none of the above steps work:
Seek professional repair services if physical damage is found.
Look for burn marks, bent CPU socket pins, or damaged slots on the motherboard.
- Handle hardware carefully to avoid damaging pins or slots.
- Use only compatible hardware as recommended by your motherboard’s manual.
- Install RAM and GPUs properly — ensure they are firmly seated.
- Keep BIOS updated to support the latest processors and RAM.
- Use high-quality PSUs to deliver stable power to all components.
- Monitor temperatures to prevent overheating, which can damage sensitive parts.
Preventive maintenance can keep your motherboard healthy and warning-light-free!
A red light on the motherboard signals a hardware issue with the CPU, RAM, GPU, or boot drive.
Yes, reseating components, clearing the CMOS, or updating the BIOS often fixes the red light issue.
Not always; the red light usually points to a specific hardware fault that can often be repaired.
Yes, a bad or improperly seated GPU can trigger the VGA red light on the motherboard.
If reseating and basic checks fail, updating the BIOS may resolve compatibility-related red light errors.
A red light on your motherboard warns of a hardware issue, but it’s often simple to fix with careful troubleshooting. By checking CPU, RAM, GPU, and boot devices, updating BIOS, and ensuring solid connections, you can usually solve the problem and get your PC running perfectly again.
- Asus Republic of Gamers Zephyrus G14 Motherboard
- ASUS Z790-Plus WiFi TUF Gaming Motherboard: No Video on First Boot
- How Turn On Type C in Motherboard in BIOS AORUS