Building or upgrading a PC can be exciting, but when the system fails to boot and you notice a glowing DRAM light on motherboard, it can be frustrating and confusing.
The DRAM light is a critical diagnostic tool that alerts you to potential memory (RAM) issues. Thankfully, many DRAM light problems can be easily identified and fixed without expensive repairs.
In this comprehensive guide, we’ll explain
- What the DRAM light means
- Why it turns on
- Detailed troubleshooting steps
- Preventive tips to avoid memory problems
- Answers to frequently asked questions
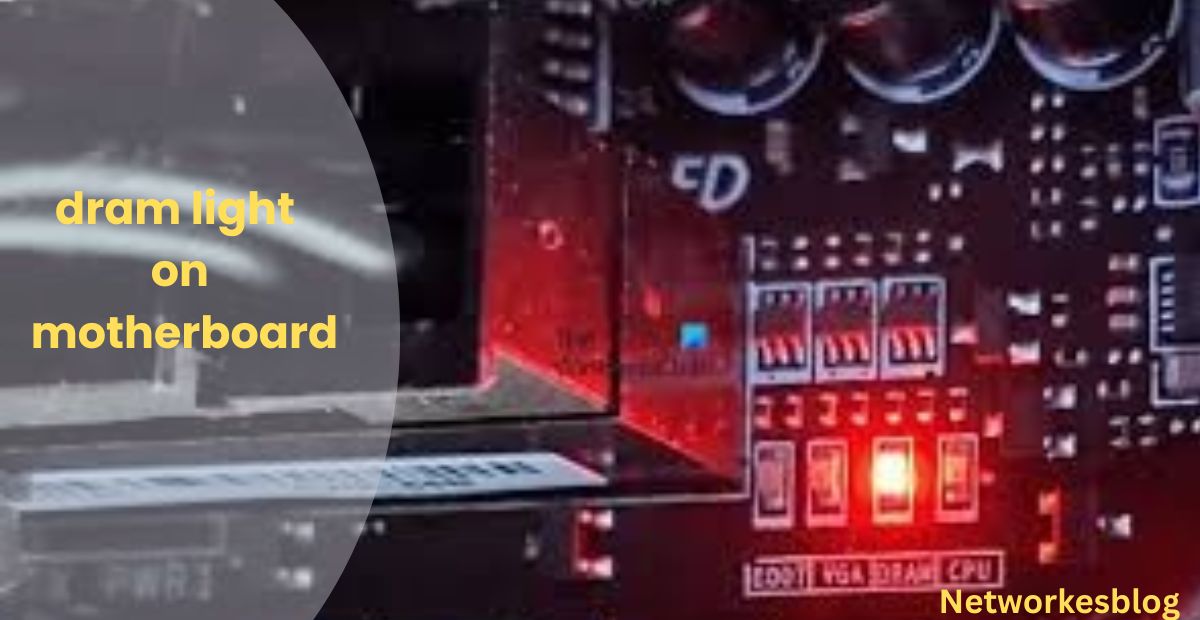
Most modern motherboards are equipped with diagnostic LEDs that indicate where the boot process fails. These lights often include CPU, DRAM, VGA, and BOOT indicators.
When the DRAM light is illuminated, it means that the motherboard has detected a problem with the system’s RAM modules during the POST (Power-On Self-Test) process.
In simple terms, your computer cannot properly read or initialize the RAM, which prevents it from booting.
Each motherboard brand (like ASUS, MSI, Gigabyte, ASRock) might place the DRAM light differently, but the meaning remains consistent: a memory error that needs attention.

Understanding why the DRAM light is on can help you quickly identify and fix the problem. Here are the most common causes:
RAM sticks must be fully inserted and locked into place. Even slightly loose or misaligned modules can cause the DRAM light to appear.
Over time, memory modules can develop faults. If a stick of RAM is defective, the motherboard will fail to initialize it, triggering the DRAM light.
Motherboards have strict compatibility lists. If you install RAM that isn’t supported — wrong speed, wrong voltage, wrong type — the system might fail to boot.
Manual tweaks like overclocking RAM beyond safe limits or setting improper voltages/timings can cause instability and memory errors.
Insufficient or unstable power from the PSU (Power Supply Unit) can sometimes cause initialization failures, including DRAM errors.
Let’s dive into detailed troubleshooting methods you can try:
- Turn off the computer completely.
- Unplug it from the power source.
- Press and hold the power button for about 30-60 seconds to discharge residual power.
- Plug it back in and power on.
Sometimes, this simple action can reset the motherboard and resolve minor glitches.
Push firmly until you hear both latches click into place.
Remove all RAM sticks carefully.
Inspect the gold pins for dirt, dust, or damage.
Clean gently with a soft brush or compressed air if necessary.
Reinsert one stick of RAM into the primary slot (usually labeled DIMM_A2).
Tip: Always consult your motherboard manual to identify the correct slots for single or dual RAM configurations.
- Insert one stick at a time and boot the system.
- If it boots successfully, that stick is likely good.
- Repeat for each RAM stick to identify a faulty module.
- Also, test different RAM slots to check if a slot on the motherboard is defective.
Step 4: Clear CMOS/Reset BIOS
Resetting BIOS settings can fix incorrect memory configurations.
- Turn off the PC and unplug it.
- Locate the CMOS battery (a small coin-cell battery) on the motherboard.
- Remove it for 5–10 minutes, then reinstall it.
- Alternatively, use the Clear CMOS jumper (refer to your motherboard’s manual).
This resets the BIOS to factory defaults and may resolve DRAM detection issues.
Manufacturers often release BIOS updates to improve RAM compatibility.
- Visit the official website of your motherboard brand.
- Download the latest BIOS version and follow the update instructions.
- Be careful: an interrupted BIOS update can harm your motherboard.
- Check your motherboard’s QVL (Qualified Vendor List) for supported RAM models.
- If your RAM isn’t listed, compatibility issues might be causing the problem.
Note: Even if a RAM kit is technically “compatible” (e.g., DDR4 with a DDR4 board), high-frequency RAM may need BIOS tweaking.
If none of the above solutions work:
If possible, test with another CPU or motherboard to isolate the issue.
Remove the CPU and inspect for bent or missing pins in the socket.
Check the motherboard for physical damage, burn marks, or broken components.
Proper installation and maintenance habits can reduce the risk of DRAM-related issues:
- Buy Compatible Components: Always cross-check RAM kits with your motherboard’s QVL.
- Handle Hardware Properly: Use anti-static wrist straps and handle components carefully.
- Install RAM Correctly: Make sure modules are fully seated and locked in.
- Avoid Aggressive Overclocking: Stick to manufacturer-recommended settings, or use XMP profiles safely.
- Keep BIOS Updated: New BIOS updates often improve system stability and compatibility.
- Use Quality Power Supplies: A reliable PSU ensures consistent voltage delivery to your components.
Yes, especially if the CPU’s memory controller is damaged or if there are bent pins on the CPU socket, it can cause DRAM detection failures.
Not immediately. First, troubleshoot the RAM, CPU, and BIOS settings. Replace the motherboard only if you confirm that other components are working properly.
Yes, clearing CMOS resets all BIOS settings to default, including RAM frequency, voltage, and CPU overclocks.
No, installing incompatible RAM typically won’t damage your motherboard. However, it will cause boot failures or instability.
The DRAM light indicates a problem with your computer’s memory (RAM), preventing the system from booting properly.
The DRAM light on your motherboard signals a memory issue but is often easy to fix. By reseating RAM, clearing CMOS, or updating BIOS, you can quickly solve it. Careful troubleshooting saves time, protects your PC, and ensures a smooth, reliable boot every time.
- ASUS Z790-Plus WiFi TUF Gaming Motherboard: No Video on First Boot
- How Turn On Type C in Motherboard in BIOS AORUS
- What Is the Next Level Up on Motherboard After B650?