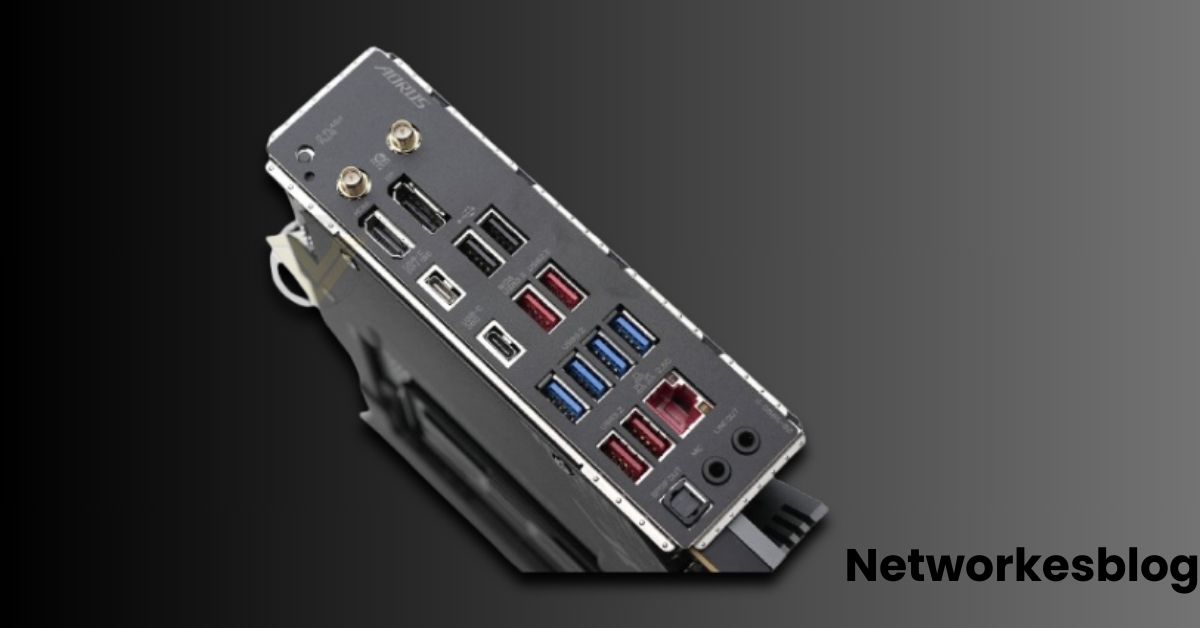
In today’s world, USB Type-C has become a must-have feature for fast charging, data transfer, and connecting modern peripherals. If you own an AORUS motherboard and your USB-C port isn’t working, it might just be disabled in the BIOS settings.
This comprehensive guide will show you exactly how to turn on Type-C in your motherboard BIOS on AORUS models — step-by-step with bonus troubleshooting tips!
Before jumping into BIOS settings, it’s good to understand why the Type-C port might not be functioning:
- The port is disabled by default in BIOS.
- Recent BIOS updates reset settings.
- Motherboard front panel headers are not properly connected.
- Driver issues after a Windows update.
- Hardware or cable problems.
- Power-saving settings disabling certain ports.
If you just built a new PC, upgraded parts, or updated BIOS firmware, these issues are common — and easily fixable!
Let’s dive into the exact steps:
As soon as the screen lights up, keep pressing the DEL key until you enter the BIOS menu.
You’ll recognize it by the AORUS logo and options like “Easy Mode” or “Advanced Mode.”
Pro Tip: Some newer AORUS models allow you to access BIOS via Windows by holding Shift and clicking Restart, then selecting UEFI Firmware Settings.
- In BIOS, if you’re in Easy Mode, press F2 to go into Advanced Mode.
- Advanced Mode gives you access to deep hardware settings including USB and I/O ports.
- Navigate to the “Settings” tab.
- Then select “IO Ports”.
- Look for the following settings:
- USB Configuration
- Type-C Support
- Front Panel Type-C Header
- USB Type-C Support = Enabled
- Front USB-C Header = Enabled (especially if you have a USB-C front panel on your case)
If you cannot find these options easily, sometimes they are tucked inside Chipset Configuration depending on your specific AORUS model (especially in Z590, Z690, B650 series motherboards).
- After enabling Type-C support:
- Press F10 (Save & Exit).
- Confirm when asked.
- Your system will reboot and Type-C ports should now function normally.
Besides just turning on Type-C, here are extra tweaks you might want to check:
| Setting | Recommendation |
|---|---|
| XHCI Hand-off | Enabled (helps older OSes handle USB 3.0/3.1) |
| Legacy USB Support | Enabled (if using older USB devices) |
| USB Power Delivery in Soft Off | Enabled (keeps power flowing to charge devices even when PC is off) |
Making sure these settings are enabled can improve compatibility with a wider range of Type-C devices.

If you’ve enabled everything and your USB-C port is still dead, here’s what you should try:
- Visit the official GIGABYTE/AORUS website.
- Download the latest BIOS firmware for your specific motherboard model.
- Update using Q-Flash (very easy and safe if instructions are followed).
Warning: Always use a stable power source during BIOS updates.
- Update your Chipset Drivers and USB drivers from the AORUS support page.
- Windows Update can sometimes miss important motherboard-specific drivers.
- If using a front USB-C panel:
- Open your PC case carefully.
- Verify the USB 3.2/3.1 Type-E Header is securely connected to the motherboard.
- Improper header connections are a very common issue.
Some cheaper or old cables do not support modern data transfer rates or charging standards.
Try plugging different devices into the Type-C port.
Test with a different, high-quality USB-C cable.
Here are some popular AORUS motherboards where you might need to manually enable USB-C:
- AORUS Z690 Master
- AORUS B650 Elite AX
- AORUS X570 Ultra
- AORUS Z790 Pro AX
- AORUS B550 Pro V2
Each may have slightly different menu labels, but the general steps stay the same.
No. Some entry-level boards (like B450M or older H310 models) might not feature a Type-C port.
No, enabling Type-C ports through BIOS is safe and won’t harm your system. It simply activates the hardware you already have.
Yes! You can buy PCIe expansion cards with Type-C ports if your motherboard lacks built-in support.
On some AORUS models, USB Type-C is disabled by default and must be manually enabled in BIOS.
Yes, updating the BIOS often resolves compatibility and functionality issues with USB Type-C ports.
Enabling USB Type-C ports through the AORUS motherboard BIOS is a simple process once you know where to look. Whether you’re troubleshooting a newly built PC or reactivating ports after a BIOS update, following the right steps ensures your system runs at full potential.
Always remember to enable the correct settings in the BIOS, double-check hardware connections, and keep your BIOS and drivers updated. This way, you’ll enjoy the speed, convenience, and flexibility of modern USB Type-C connections without any hassle.
By taking a few minutes to configure your system properly, you unlock the full power of your AORUS motherboard for all your devices!
What Is the Next Level Up on Motherboard After B650?
AM4 Socket Motherboard: The Complete 2025 Guide for Builders, Gamers, and Enthusiasts
Z790 Motherboard: The Definitive Guide for High-Performance PC Builds